
In this tutorial series, you will create various types of tests and discover the functionalities that stimuliApp offers.
On the downloads page you will find a version of each of the tutorials. You can simply download it and import it into your application.
Let’s start by creating and running a very simple test.
It will consist of a single screen with the default background (gray background with a luminance equal to 50% of the device’s maximum luminance) and a circular grating drawn in the center.
The screen will last a few seconds and then the test will end without any participant interaction.
Creating a new test
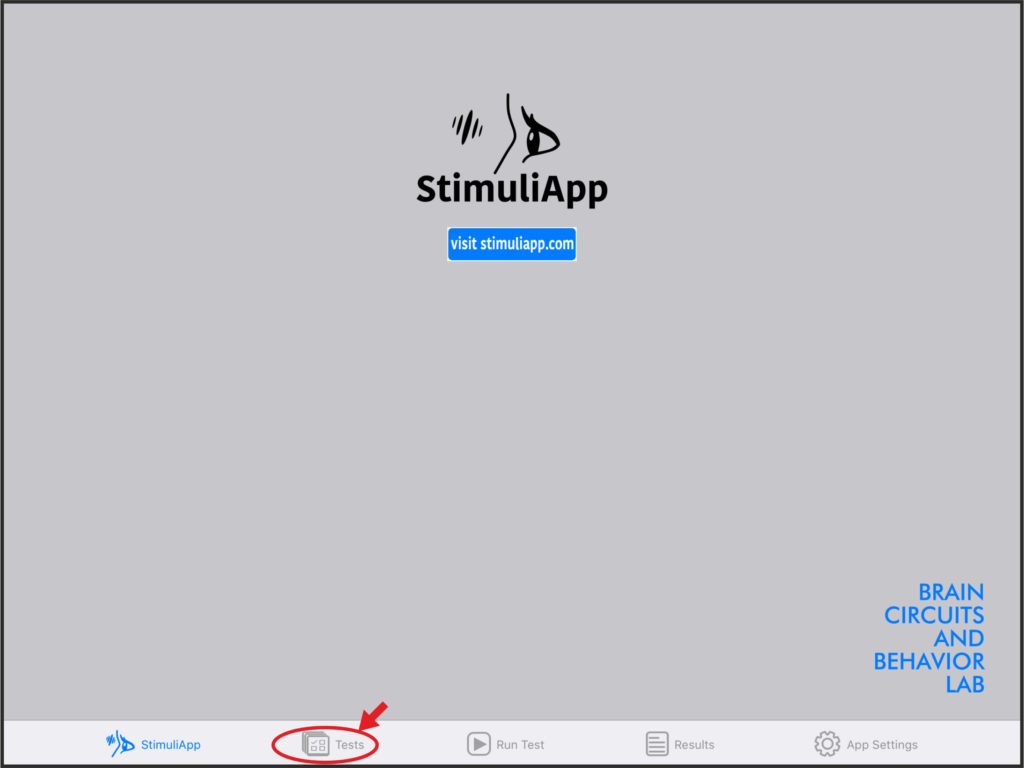
When you launch StimuliApp you will see a navigation bar at the bottom of the screen with the following buttons::
- StimuliApp: to go to the main menu.
- Tests: to go to the menu to create, edit or delete tests.
- Run Test: to run an existing test.
- Results: to check the results of all the performed tests.
- App Settings: to set and obtain information about the device.
First of all, click Tests in the navigation bar.
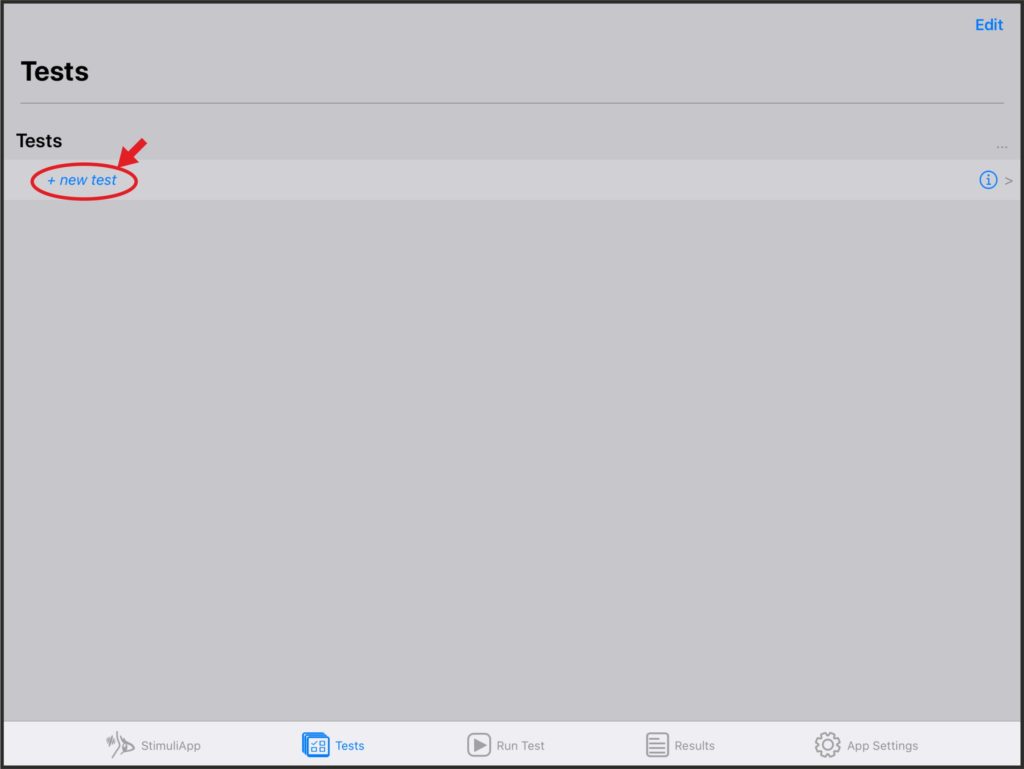
You haven’t created any test yet. Click + new test to create a new one.
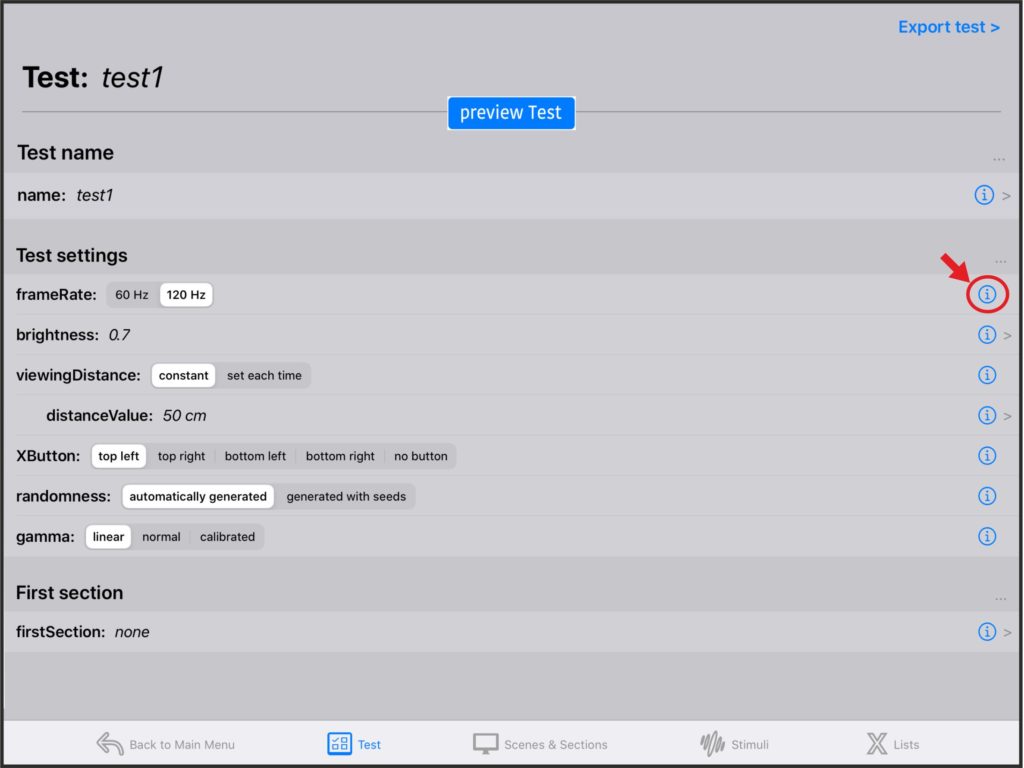
There are several properties in the Test menu that you can modify. You can get information about any property simply by clicking the info button on the right side of each row.
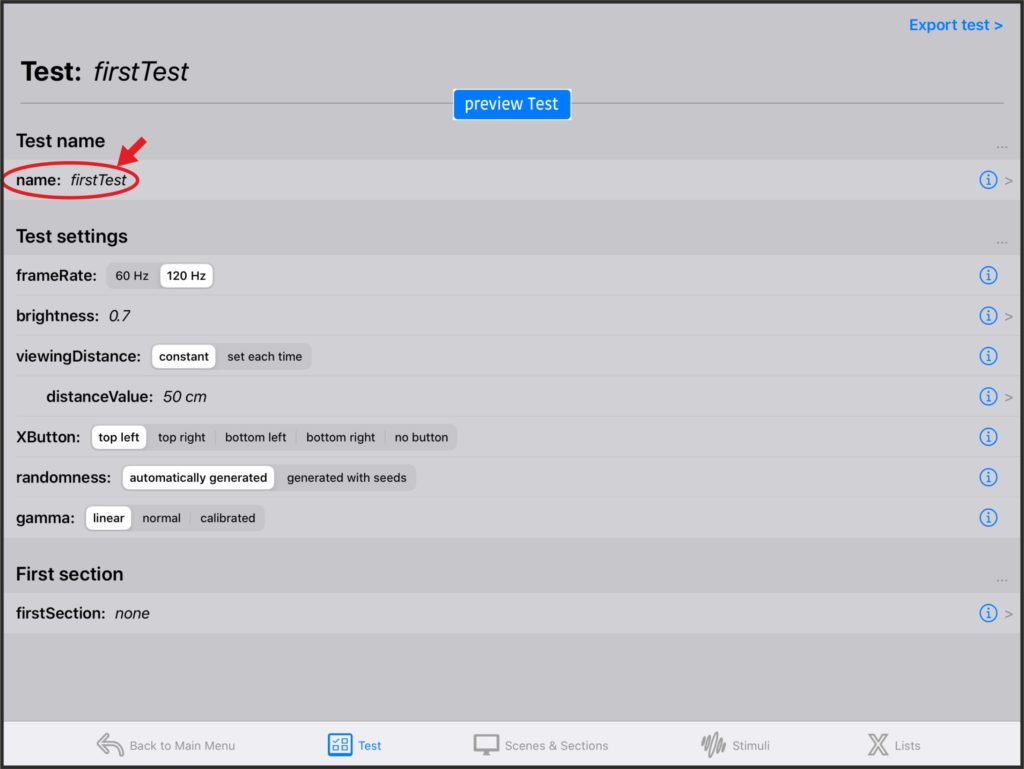
But for now, just rename the test to
The navigation bar at the bottom of the screen has changed because you have started to edit a test:
- Back to Main: to return to the previous navigation bar.
- Test: to access the general properties of the test.
- Scenes & Sections: to manage the structure of the test. Tests are divided into sections. Each section contains one or more scenes containing objects.
- Stimuli: to create stimuli templates that can be used in any scene in the test.
- Lists: to create lists of numeric values, vectors, images, videos, audios, texts or blocks.
You might find the use of sections, scenes, lists and objects a little involved at the beginning, but these elements will allow you to create tests of different complexity very fast.
Creating the stimulus
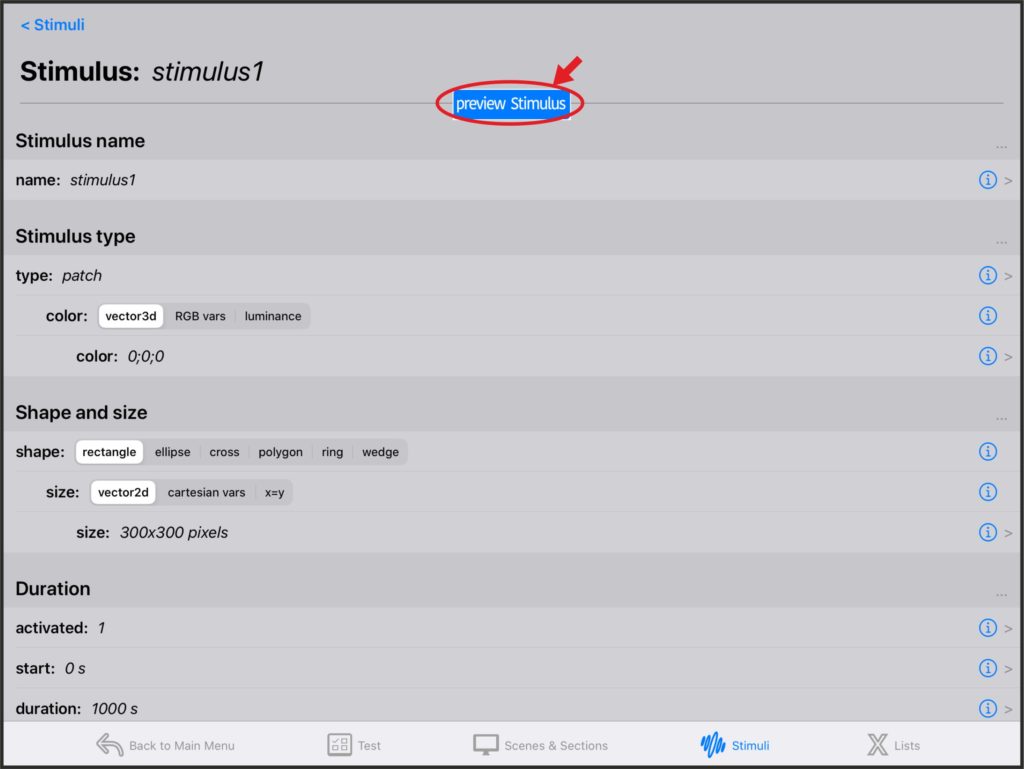
Click Stimuli in the navigation bar and create a new stimulus.
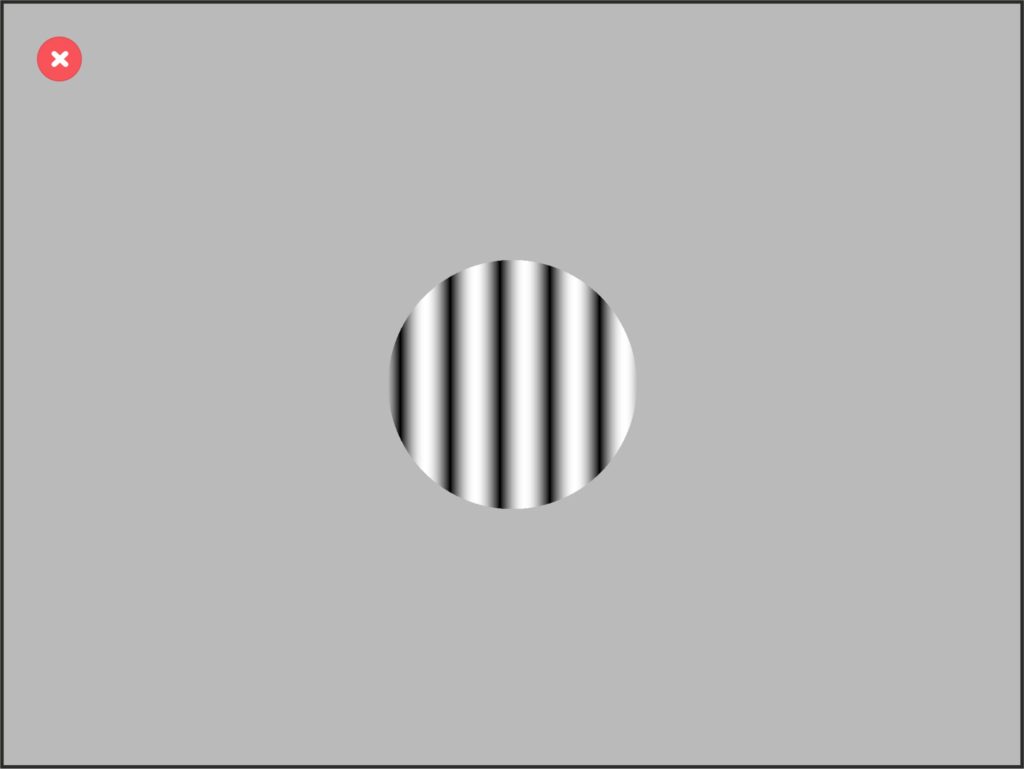
Now click preview Stimulus at the top of the screen to see a preview of the default stimulus that you have created.
The default stimulus is a black square located at the center of the screen.
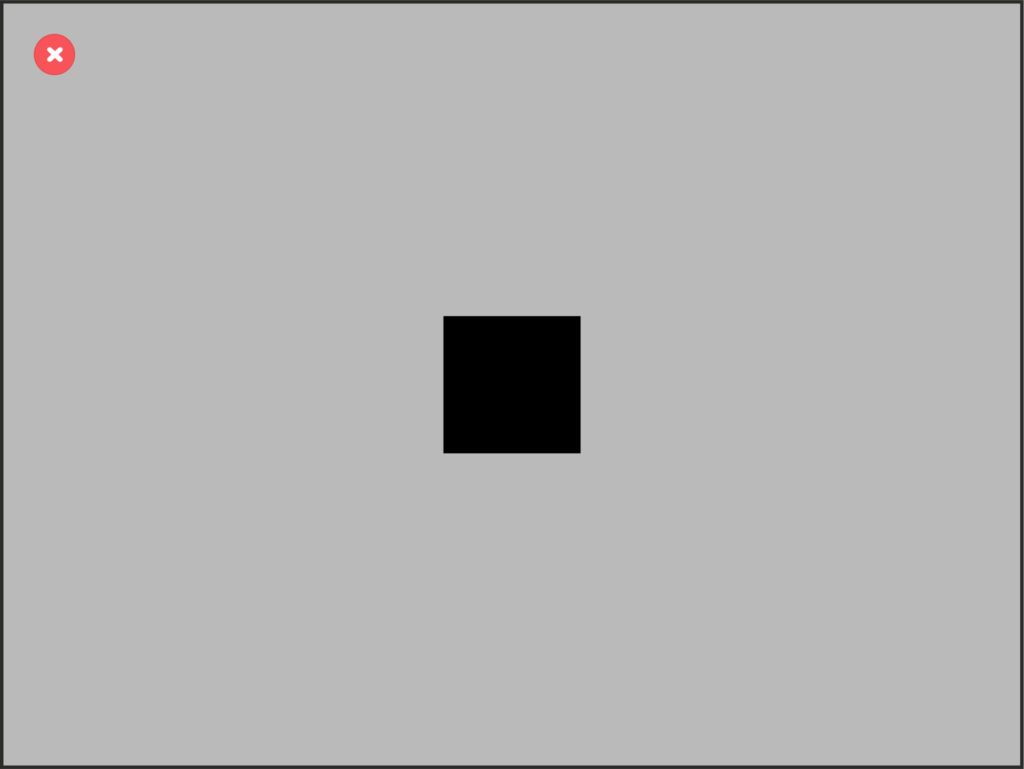
Click the cross at the upper left corner of the screen to cancel the preview and return to the stimulus menu.
The stimulus menu is divided into different groups:
- Stimulus name
- Stimulus type
- Shape and size
- Duration
- Position
- Border
- Contrast
- Noise
- Modulator of contrast
First, click the name property within the Stimulus name group and change the name of the stimulus to
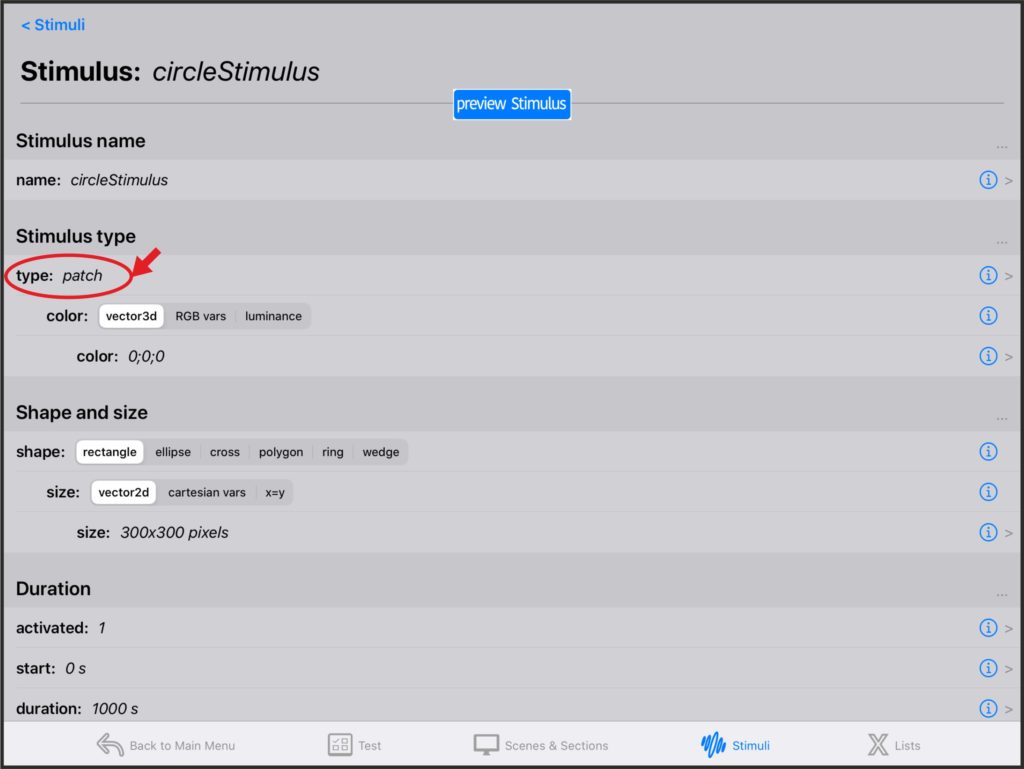
Then, to change the type of stimulus to display, click the type property within the Stimulus type group.
Select the grating type.
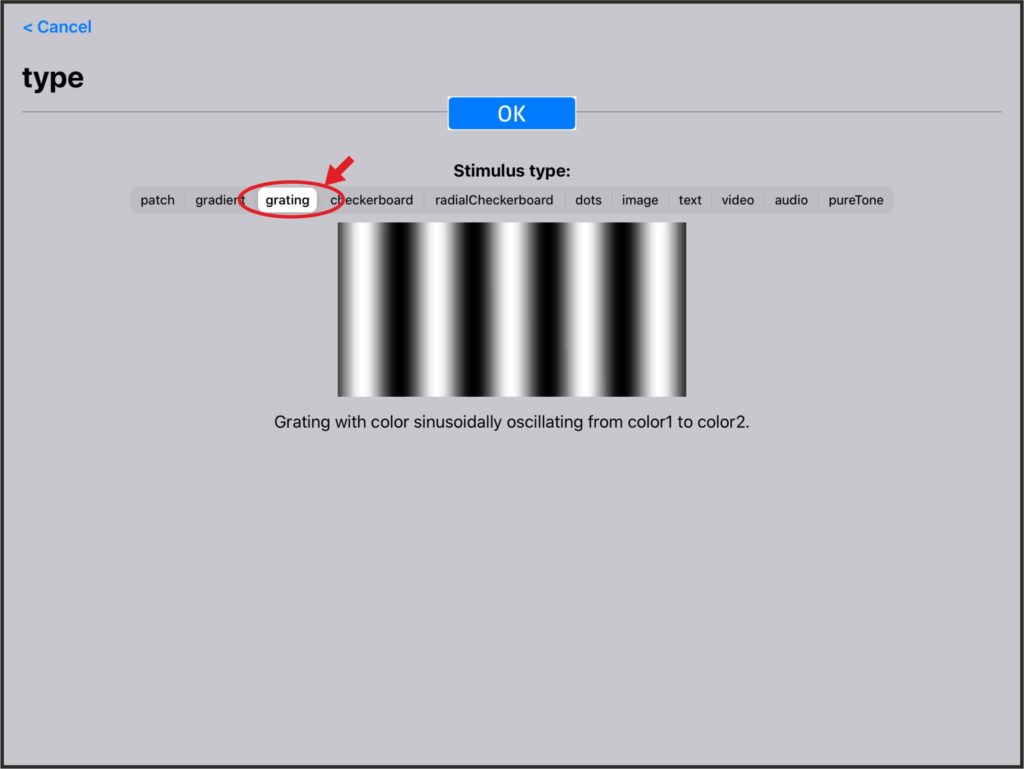
Now you can change any of the grating properties such as period, color1, color2, phase or gratingRotation.
Go to the Shape and size group and change the shape to ellipse and the size to the value you want.
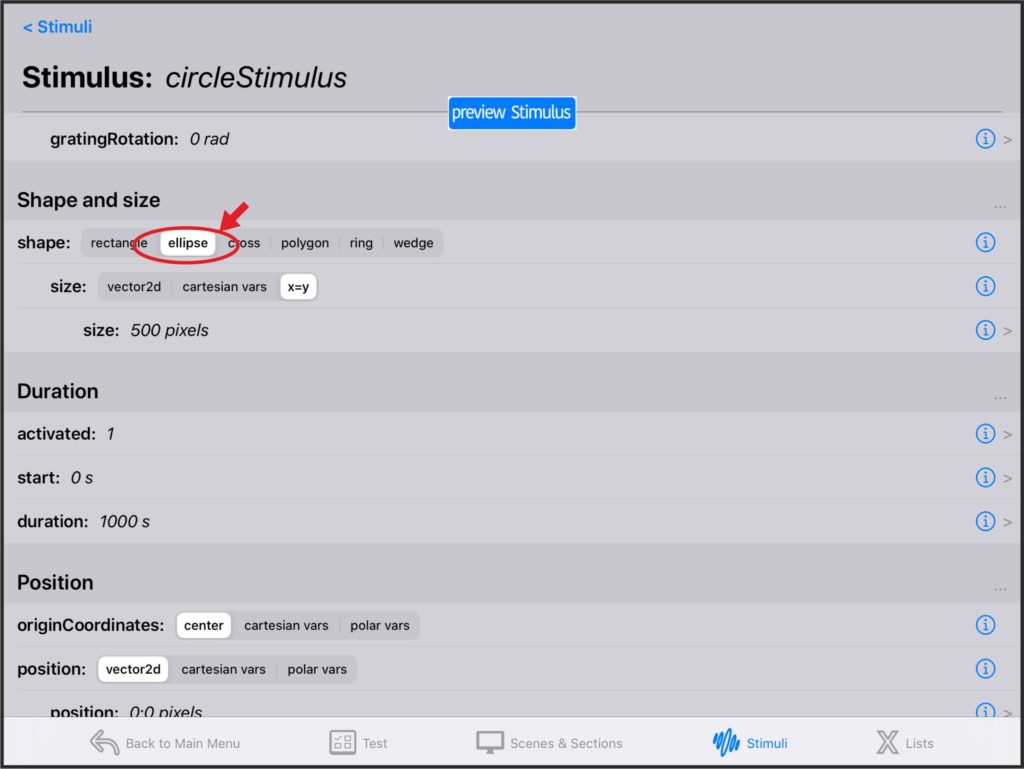
You can preview the stimulus again.
Creating the section and the scene
You know how to preview a stimulus in the screen, but now you need to create the entire test. Tests consist of one or more sections each of which contains one or more scenes.
In our simple example, you will create just one section that contains only one scene.
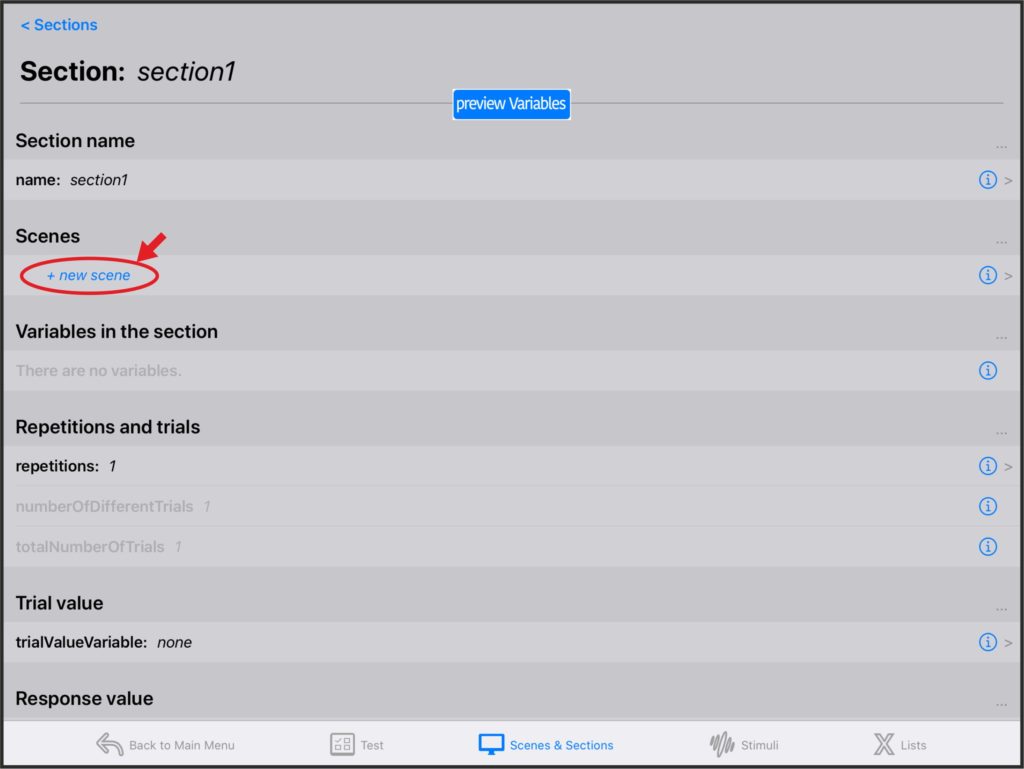
Click Scenes & Sections in the navigation bar and add a new section.
There are many properties in the section menu, but do not worry about them. For now, all you have to do is create a new scene within your section.
You can preview the entire scene by selecting preview Scene.
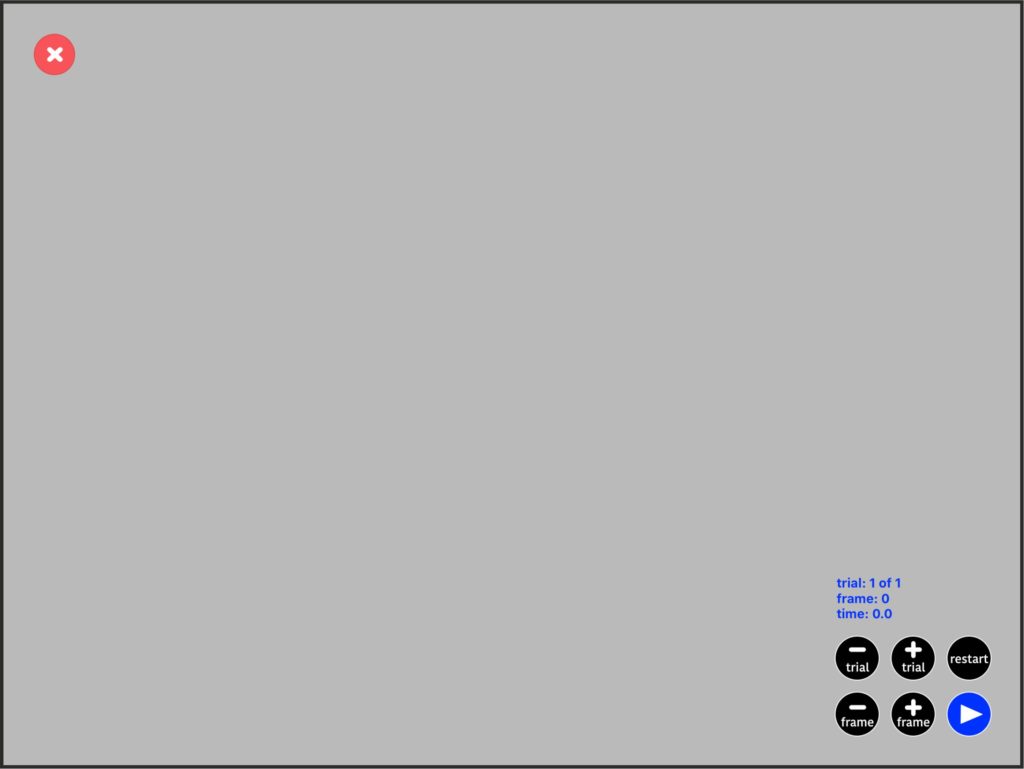
The scene is empty because you have not yet added the stimulus to the scene. You also haven’t changed the background, so only the default gray background is being displayed.
The default background is a gray color with a luminance of 50% of the maximum luminance of the display at the current brightness level.
There are some controls at the bottom right of the screen for playing, stopping and controlling time. If you press the play button, the scene is played in loop mode.
You can close the preview with the red button at the upper left corner of the screen.
You need to add the stimulus to the scene. You cannot add a stimulus directly to a scene, you need to create an object that takes its values from the stimulus. That gives you the opportunity to create multiple objects from the same stimulus if you want.
Click the + new object button in the bottom part of the scene menu.
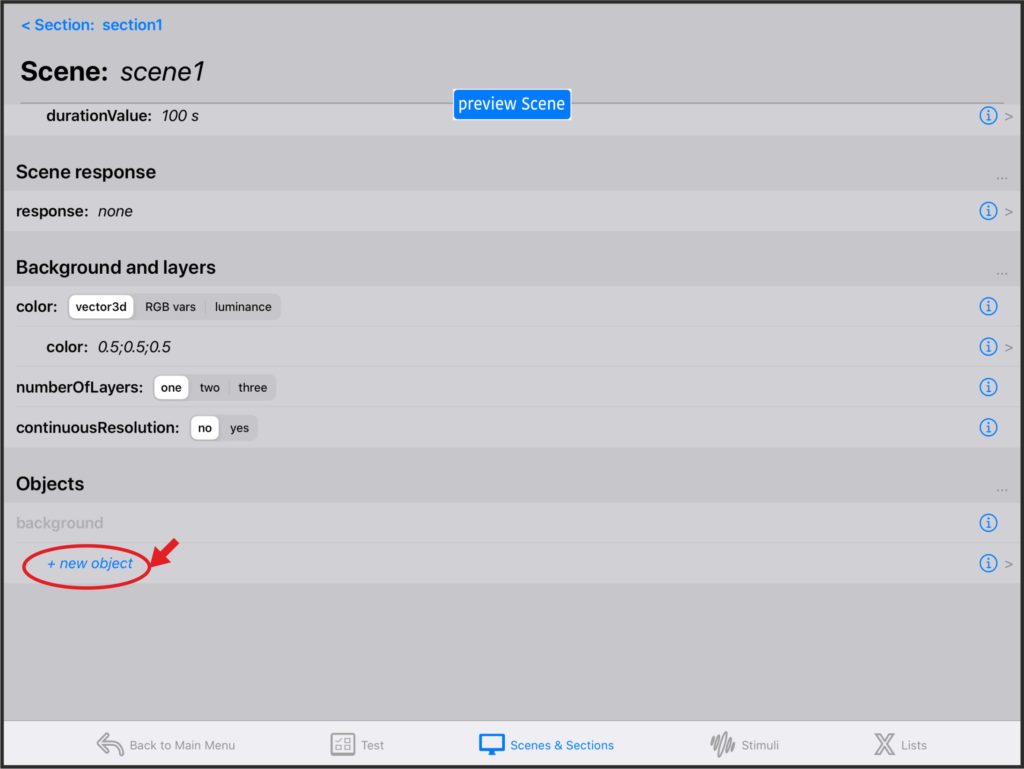
To add a new object to the scene, you need to specify the stimulus template from which you want to create the object. In your case: circleStimulus.
Now that you have added the object, you can preview again the scene. The circle will appear in the center of the screen.
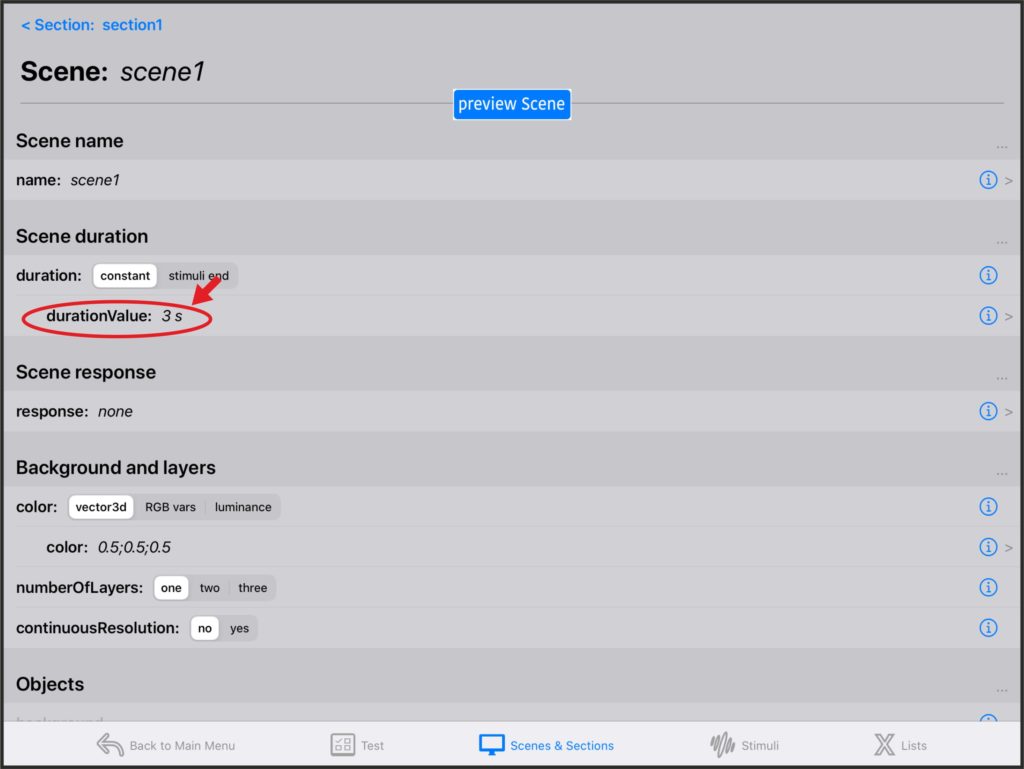
If you click the play button, the time counter will start running and you will notice that the duration of the scene seems to be very long.
Back in the scene menu, you can change the duration of the scene. By default, it is set to be constant with a value of 100 seconds. Click the
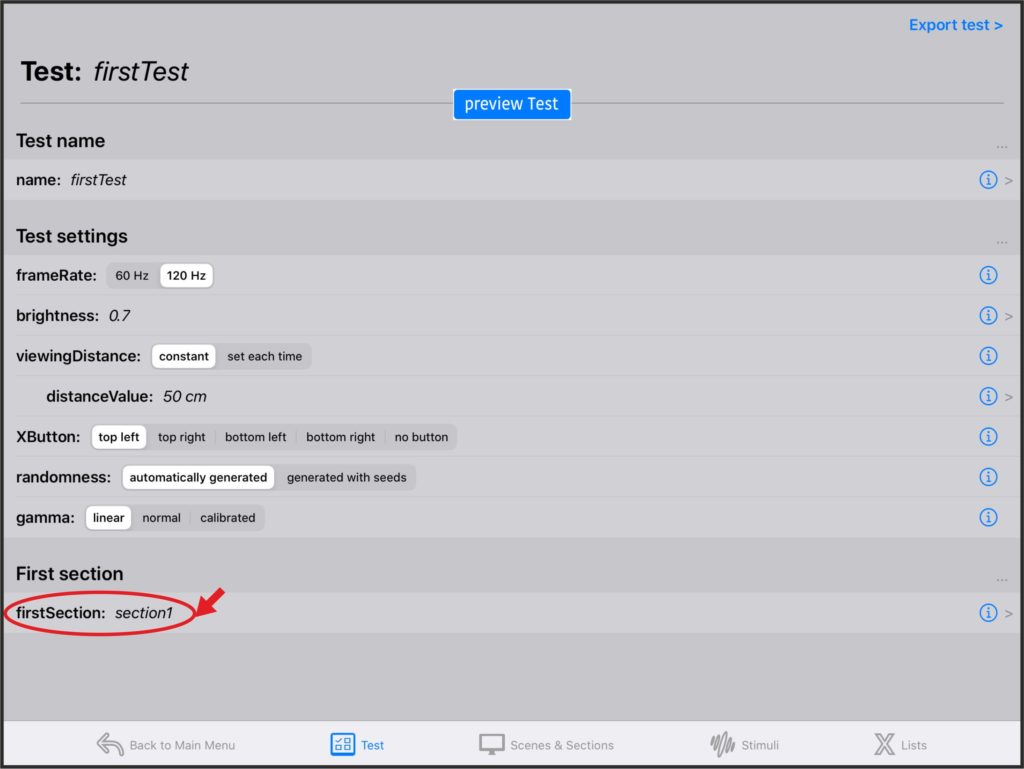
Click the Test button in the navigation bar. The only thing left to do is to tell the test which is the first section (in your case it’s the only one).
Click the preview Test button. The stimulus will appear
Every time you finish previewing a test, a frame rate message is displayed. In that message, you can see how many frames (if any) have lasted longer than expected. Visit timing and frames to learn more about the topic.
Run the test
Now that you have previewed the test, go Back to Main Menu and click Run Test in the navigation bar to run the test instead of just previewing it.
Once you have run the test, you can visit the Results menu to read a report with information about the test and the performance. When reading a results report, you will find an email button at the top of the screen that allows you to email the report.
Summary
- Go to the Test menu and create a new test.
- Change the test name to firstTest.
- Go to the Stimuli menu and create a new stimulus.
- Change the stimulus name to circleStimulus.
- Change the stimulus type to grating.
- Change the stimulus shape to ellipse.
- Change any of the properties of the stimulus as you like.
- Go to the Scenes & Sections menu and create a new section.
- Within that section, create a new scene.
- Within the scene, create a new object that takes its values from the stimulus.
- Change the duration of the scene to 3 seconds.
- Go back to the Test menu, and set the value of firstSection to the section that you have created.
You can download a version of this test from the downloads menu of this web page.
In the next tutorial you will introduce some variability to the stimulus and the possibility to give a response to each trial.